What's inside
1 Getting started — create your account
2 The Dashboard
3 Daily gold & silver rate
4 Items & stock
5 Barcode & jewellery tag printing
6 Sales — invoice, quick sale, estimate, order
7 Purchase & old gold exchange
8 Repair jobs
9 Reports & accounts
10 Backup & restore
11 Users & staff logins
12 Language, currency & themes
13 Licence, devices & renewal
14 Help & support
1Getting started — create your account
- Open jewelapp.auromine.com in Chrome or Edge on your computer, or install the Android app.
- Tap Create account — just 3 fields: shop name, email, password.
- Your 21-day free trial starts immediately. Everything is unlocked.
- Already registered? Tap Sign in instead and use the same email + password on any device.
- Forgot your password? Tap Forgot password? on the sign-in screen — a 6-digit code is emailed to you.
Your bills and stock stay on YOUR device. Only your account, licence and device list are kept on the Auromine server.
2The Dashboard
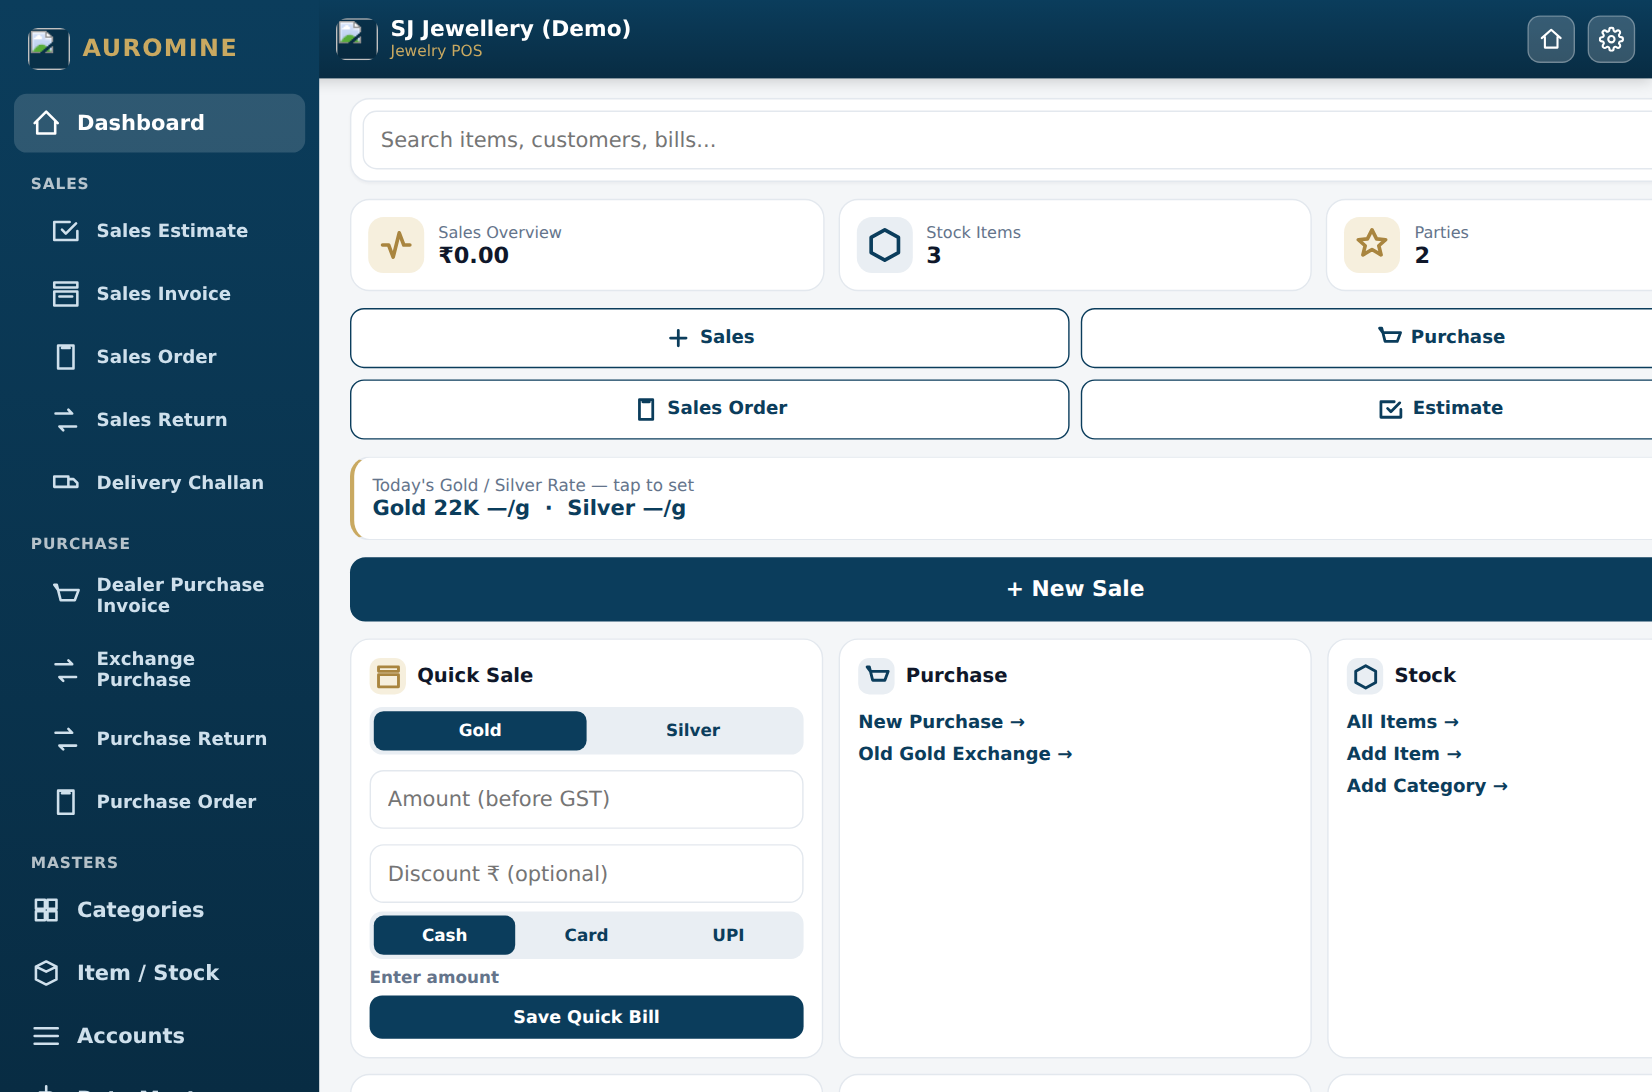
The Dashboard — today's sales, quick actions, quick sale, and recent bills
- Top row: today's sales total, stock item count, parties count.
- Quick buttons: Sales, Purchase, Sales Order, Estimate — one tap to start a bill.
- Quick Sale card: for fast counter billing by amount — pick Gold/Silver, type the amount, choose Cash/Card/UPI, save. GST 3% is added automatically.
- Rate strip: tap it to set today's gold/silver rate.
- Users & Staff row (above Recent Bills): manage salesperson logins.
- Gear icon (top-right): quick links — Users & Staff, Barcode & Tag Print, Themes, Languages, Rate Master, Invoice Settings.
3Daily gold & silver rate
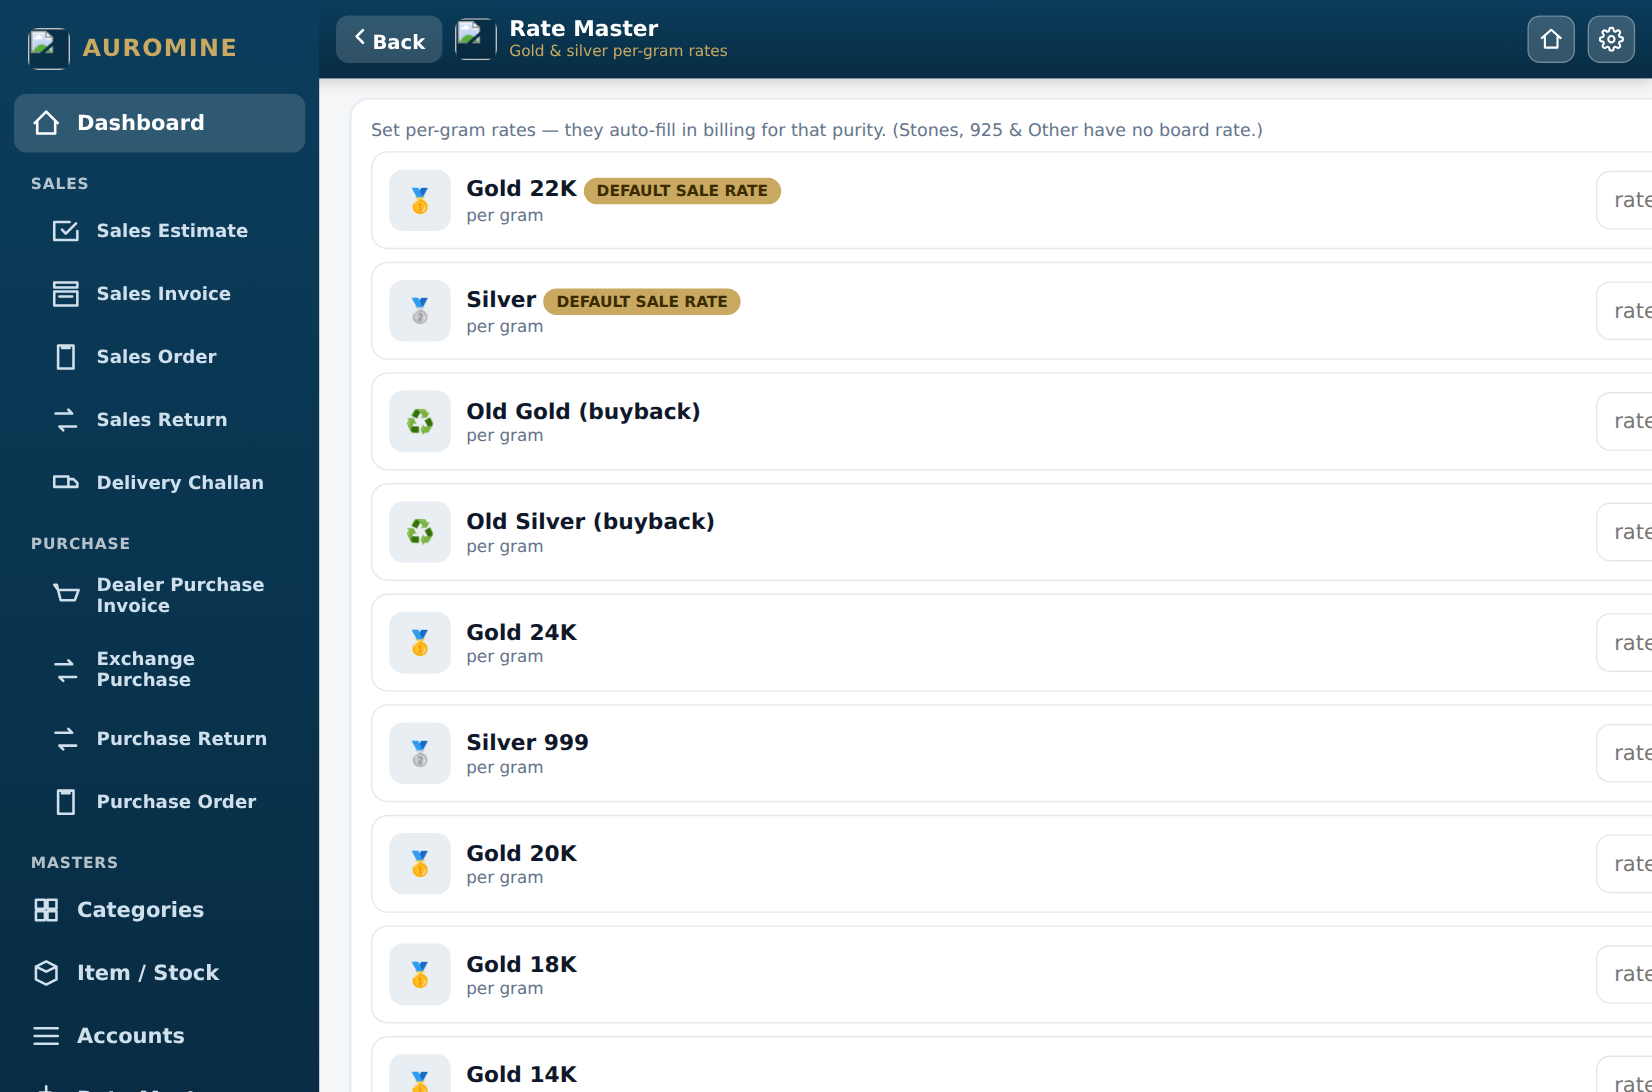
Rate Master — set today's board rate once every morning
- Open Rate Master (from the dashboard rate strip, sidebar, or gear menu).
- Enter today's rate per gram for each metal and purity (22K, 18K, Silver...).
- All sale bills made today will use these rates automatically. Rate history is kept.
Set the rate FIRST thing every morning — every weight-based bill calculation depends on it.
4Items & stock
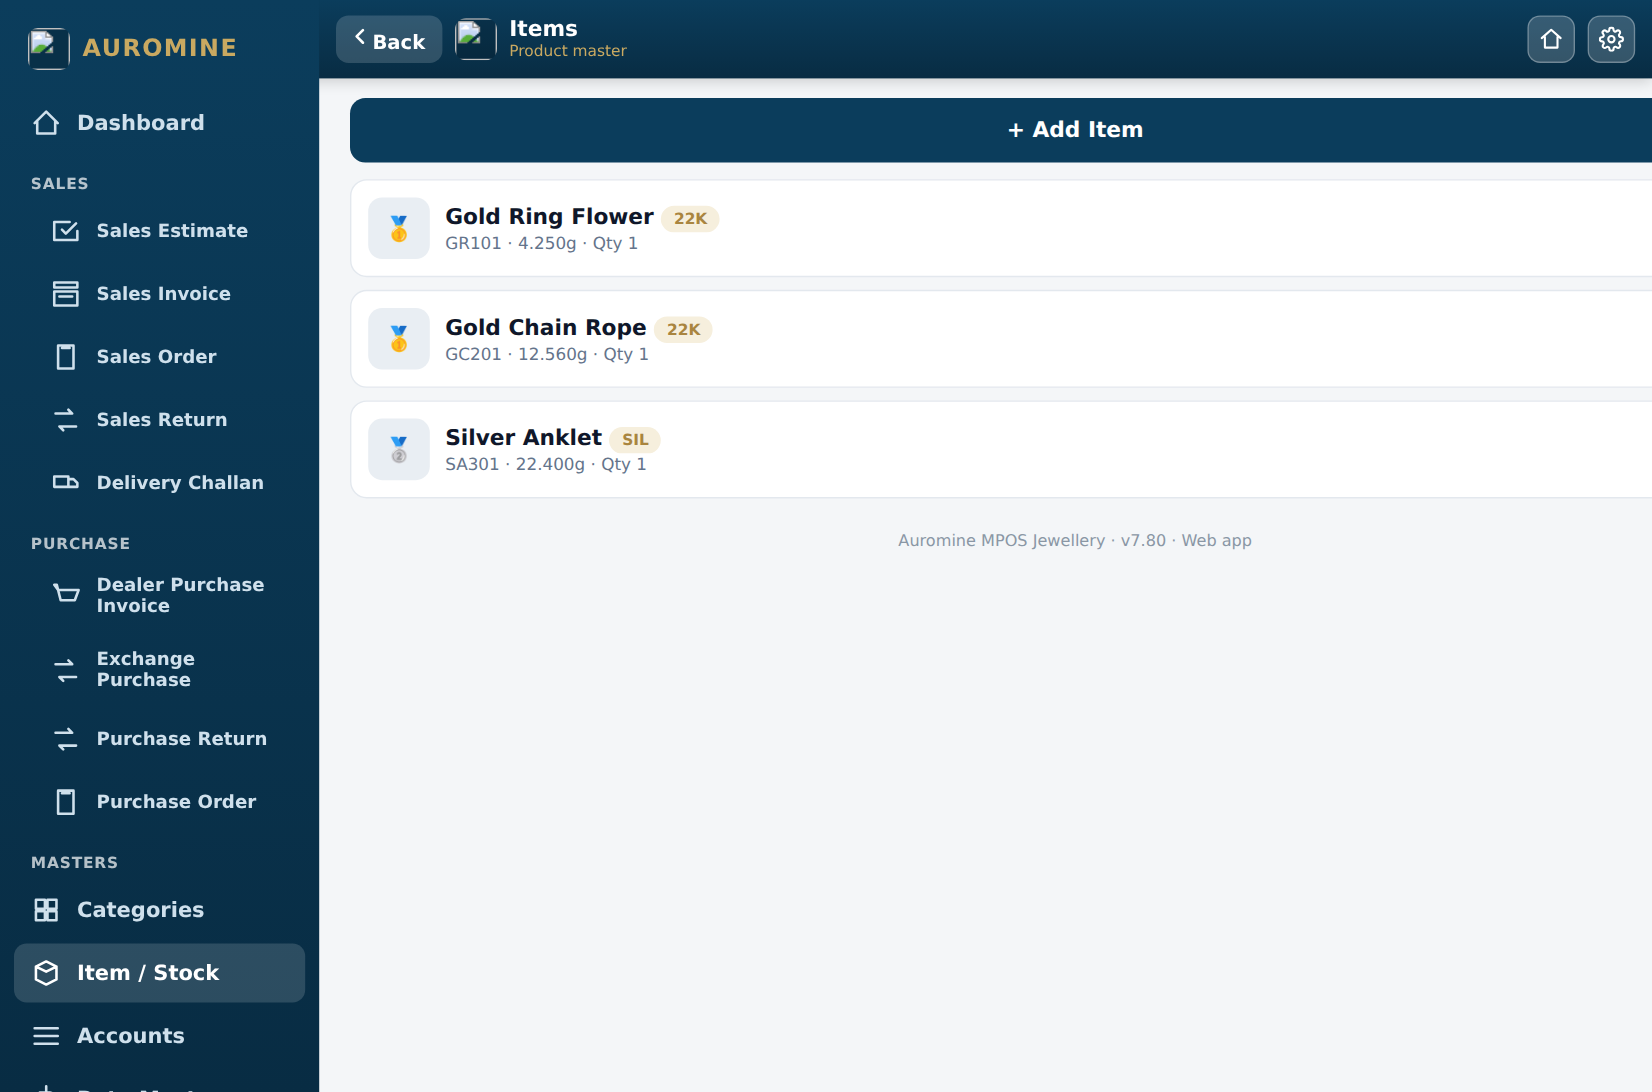
Item / Stock — your product master
Adding an item
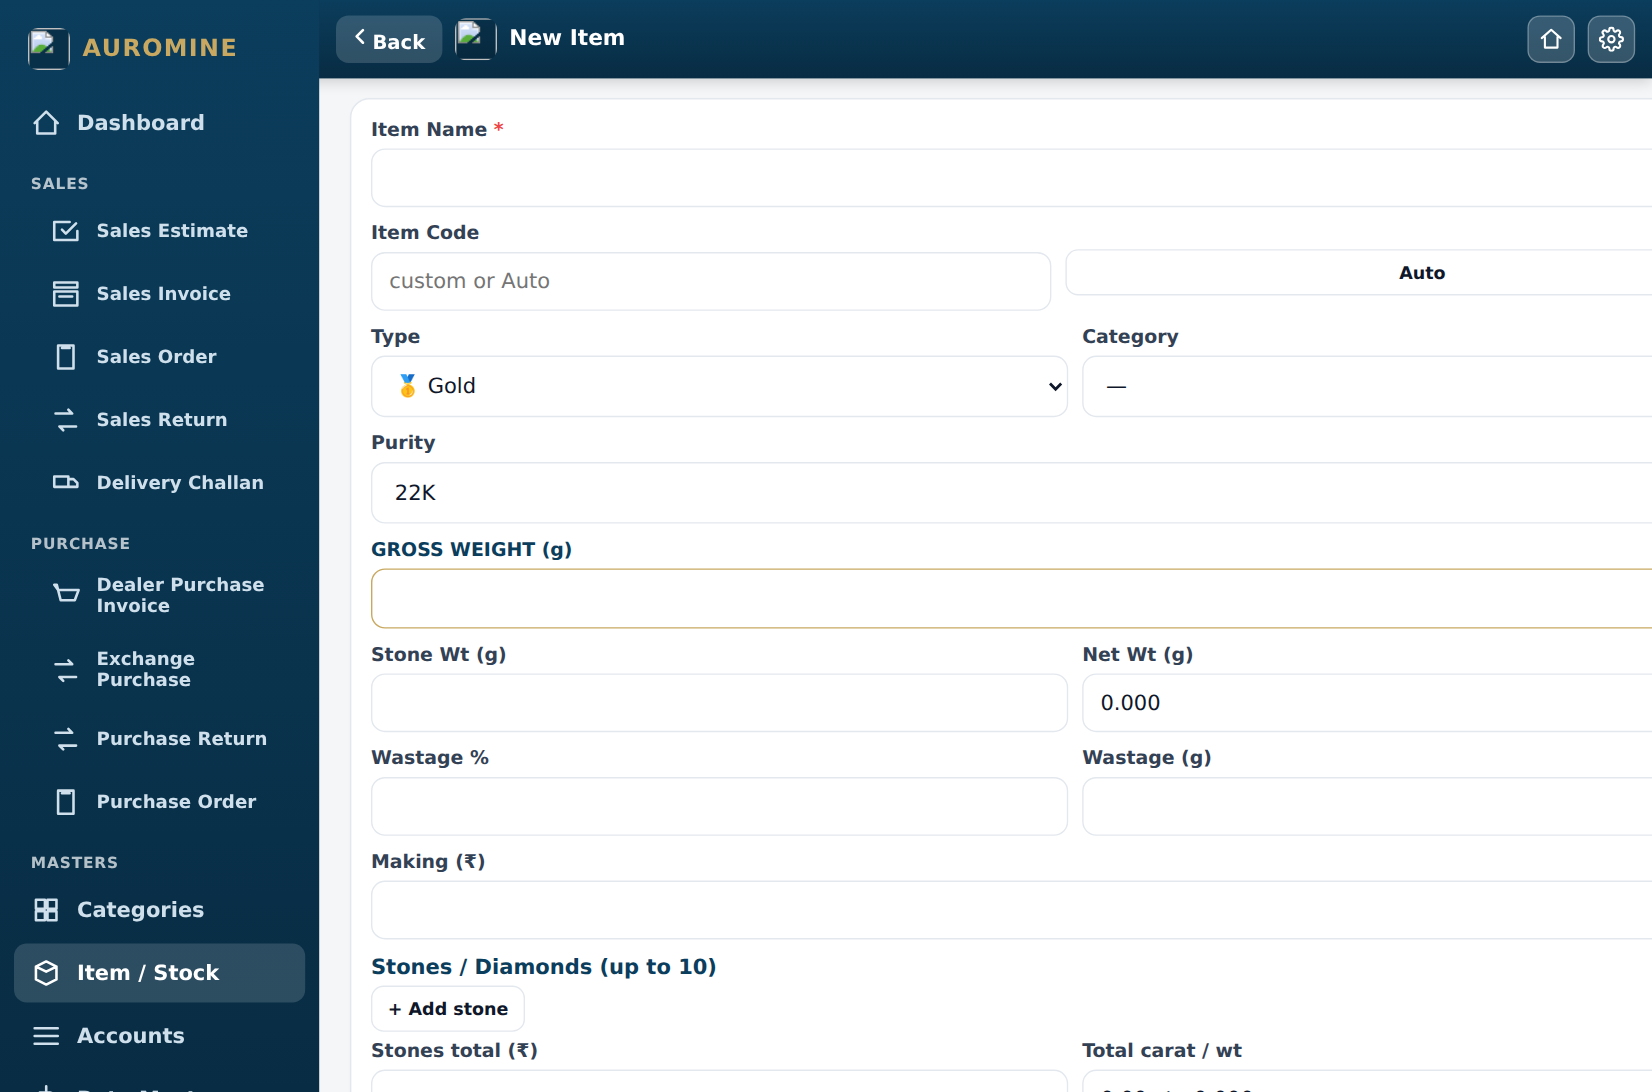
The item form — code, purity, weights, making charge, HUID
- Go to Item / Stock → Add Item.
- Enter name, item code (used on the barcode tag), category, metal and purity.
- Enter Gross weight. If there are stones, enter stone weight — net weight is calculated.
- For diamond/stone items you can type carat OR grams — the app converts both ways (5 ct = 1 g).
- Add making charge, wastage, HSN and HUID if needed. Save.
Buying in bulk? Use Lot / Bulk Stock for untagged lots, and Excel/CSV import (Tools) to load many items at once.
5Barcode & jewellery tag printing
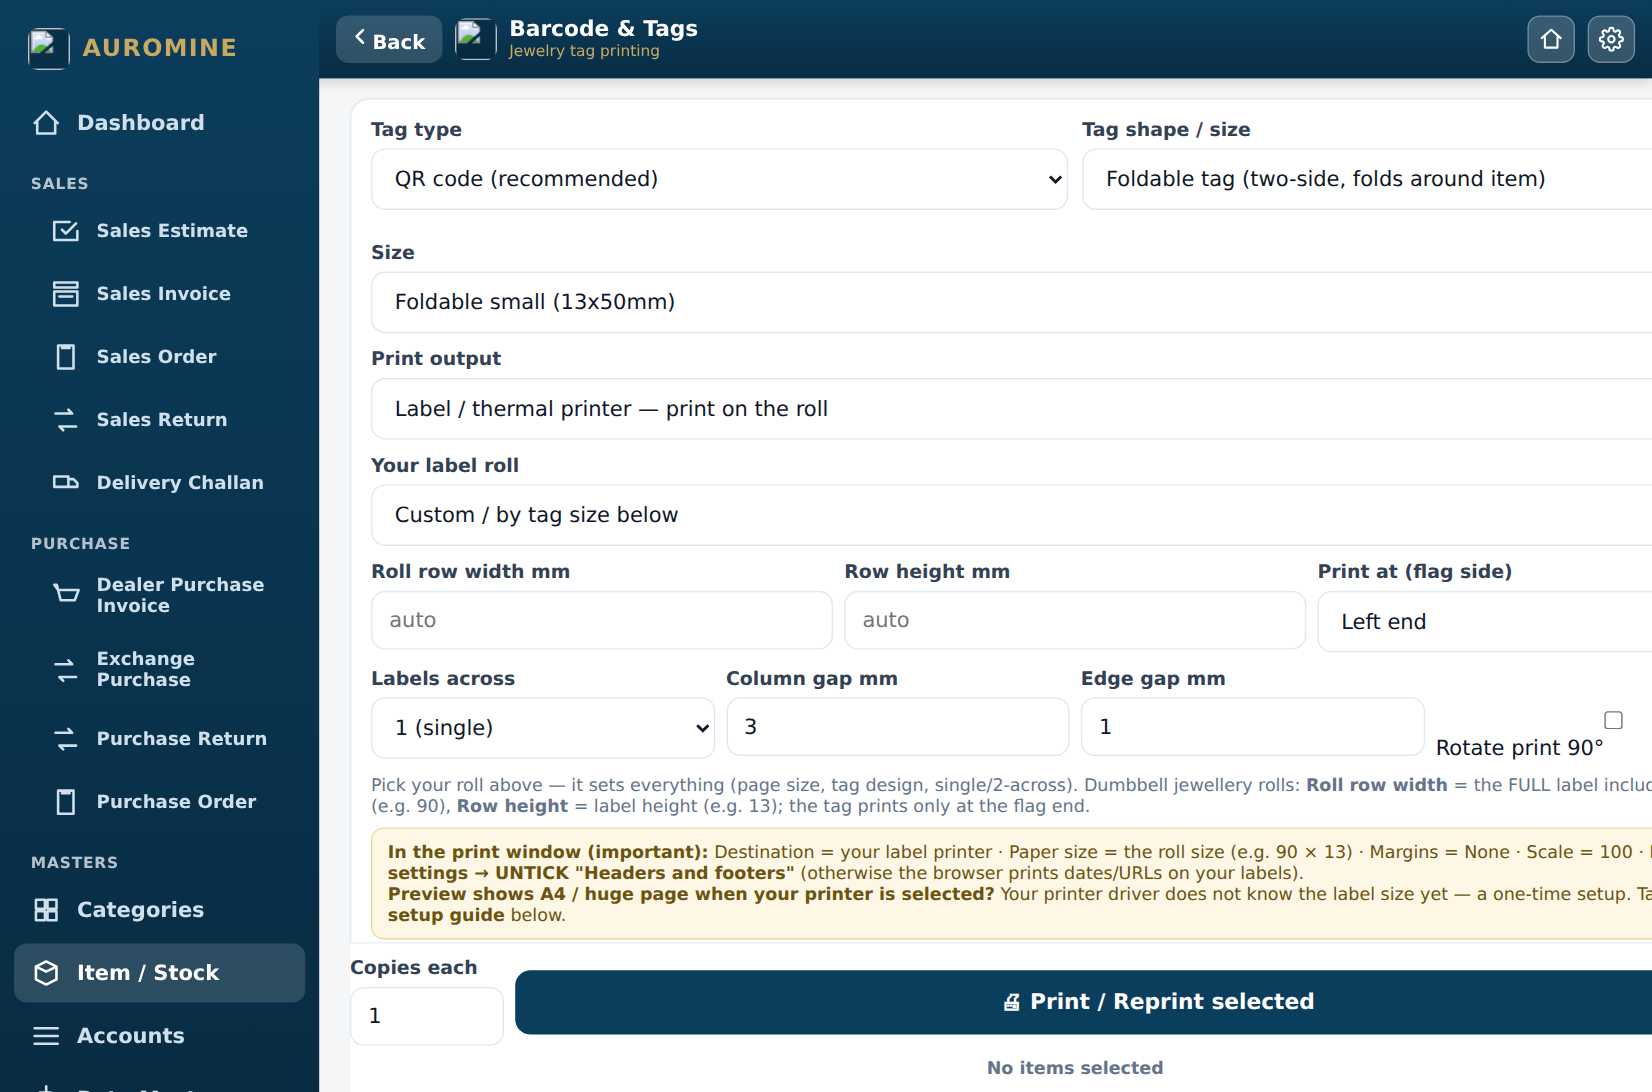
Barcode & Tags — pick your label roll, select items, print
One-time setup
- Open Barcode & Tags (gear menu → Barcode & Tag Print).
- Under Your label roll, pick your roll — e.g. "RJMS style 90 × 13 (1A) — flag on LEFT" for standard jewellery dumbbell rolls (like the old ERP tags), or the Retail 2-across roll for stickers.
- The page size, tag design and layout are set automatically by the preset.
- Tell your printer the label size ONCE — tap 🖨 Printer setup guide and follow it (2 minutes, works for Citizen, TSC, Zebra, TVS, Godex and more).
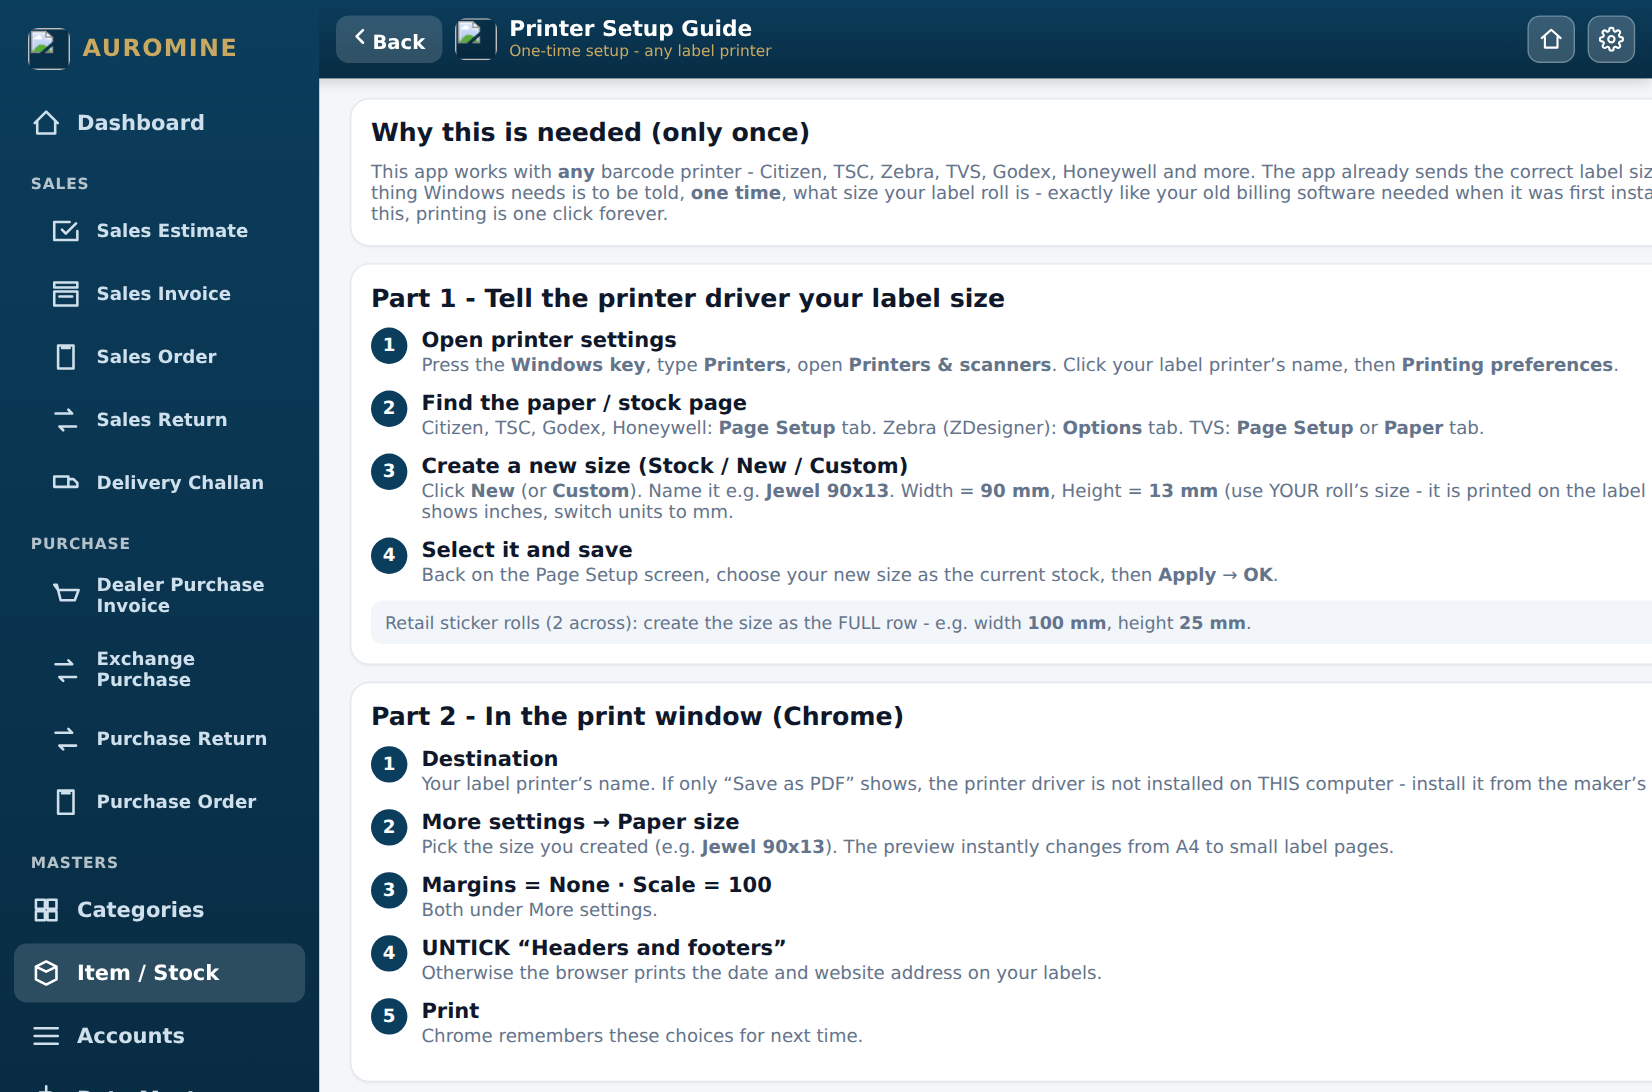
The built-in Printer Setup Guide — driver paper size + Chrome print settings + troubleshooting
Printing tags
- Tick the items you want (or Select all), set Copies each.
- The counter shows exactly how many labels will print.
- Tap Print / Reprint selected. In the print window: Destination = your label printer, Paper size = your roll (e.g. 90×13), Margins = None, Scale = 100, and UNTICK "Headers and footers".
First letters getting cut at the edge? Increase Edge gap mm (try 1.5 or 2). Print landing between labels? Hold the printer's FEED button until it feeds a few blanks — this calibrates it.
You can also design your own tag (Custom tag designer), save designs by name — each saved design remembers its roll size and flag side.
6Sales — invoice, quick sale, estimate, order
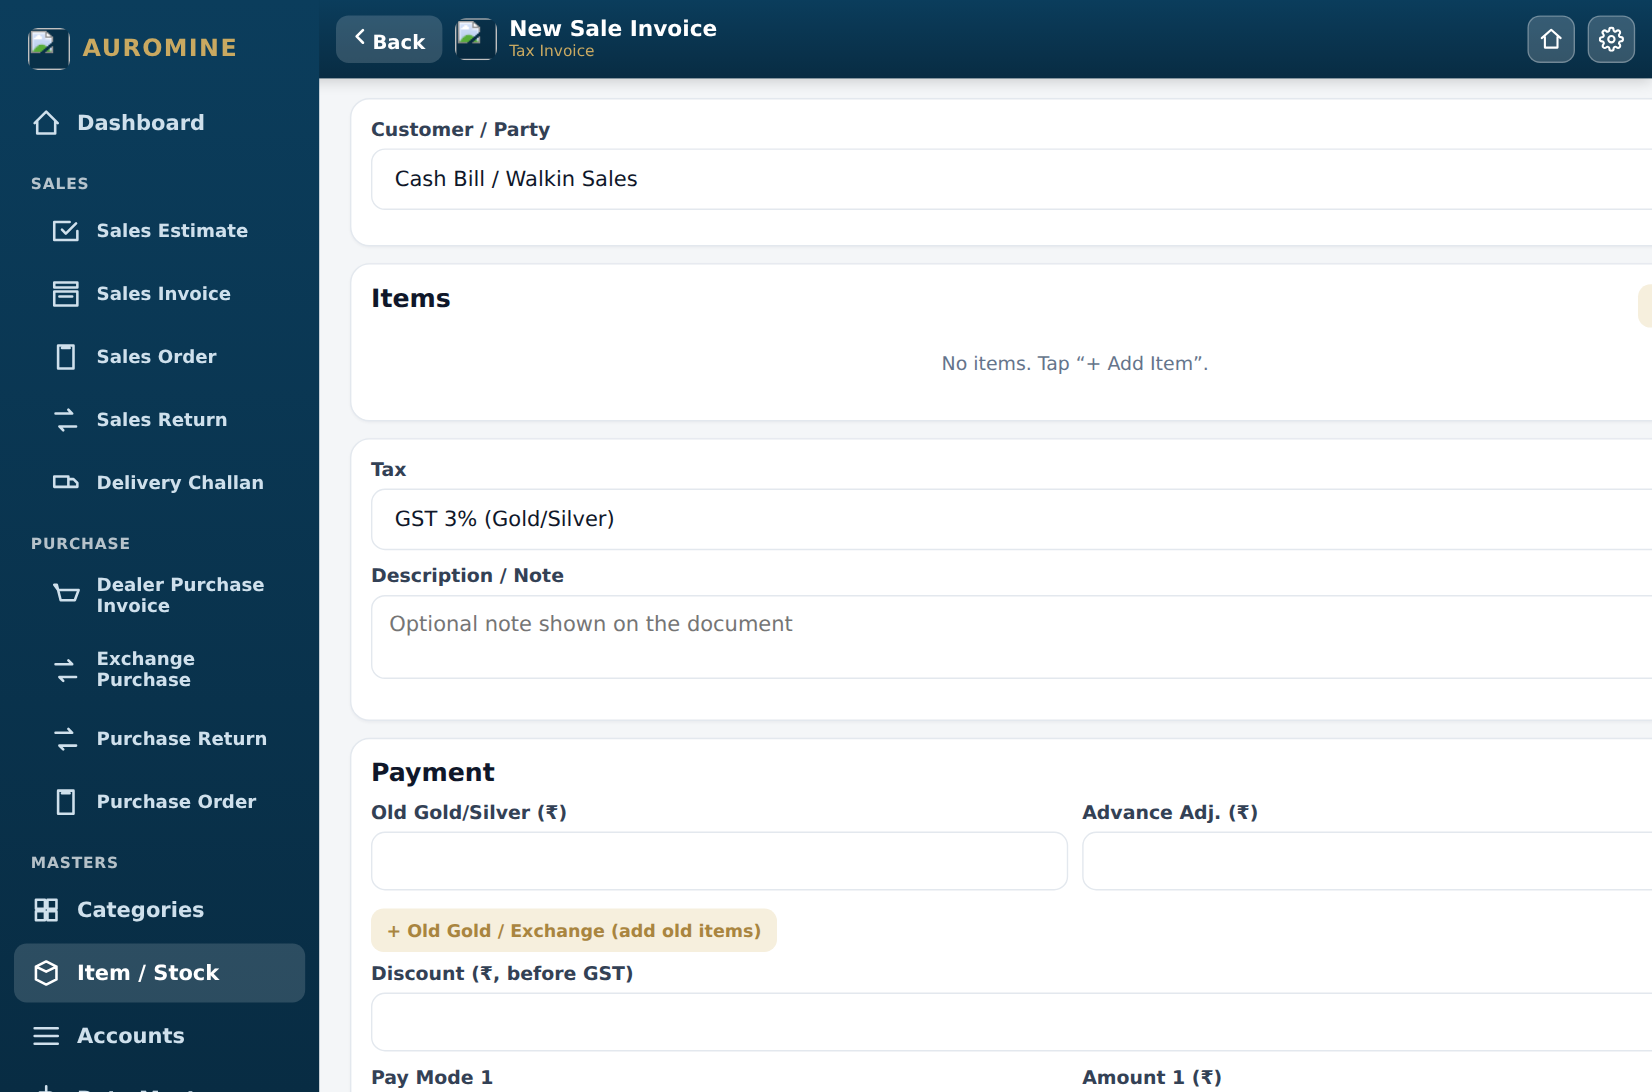
New Sale Invoice — customer, items, old gold exchange, payment
Sale invoice
- Tap + New Sale (dashboard) or Sales Invoice in the sidebar.
- Pick the customer (or leave as Cash Bill / Walk-in).
- + Add Item — scan the barcode tag or pick from the list. Weight × today's rate + making is calculated with GST 3%.
- Customer giving old gold? Tap + Old Gold / Exchange, weigh it and the value is deducted in Payment.
- Choose payment mode(s) — Cash / Card / UPI, advance adjust, discount.
- Save → the invoice opens. Print it or share on WhatsApp.
Estimates, orders, challans
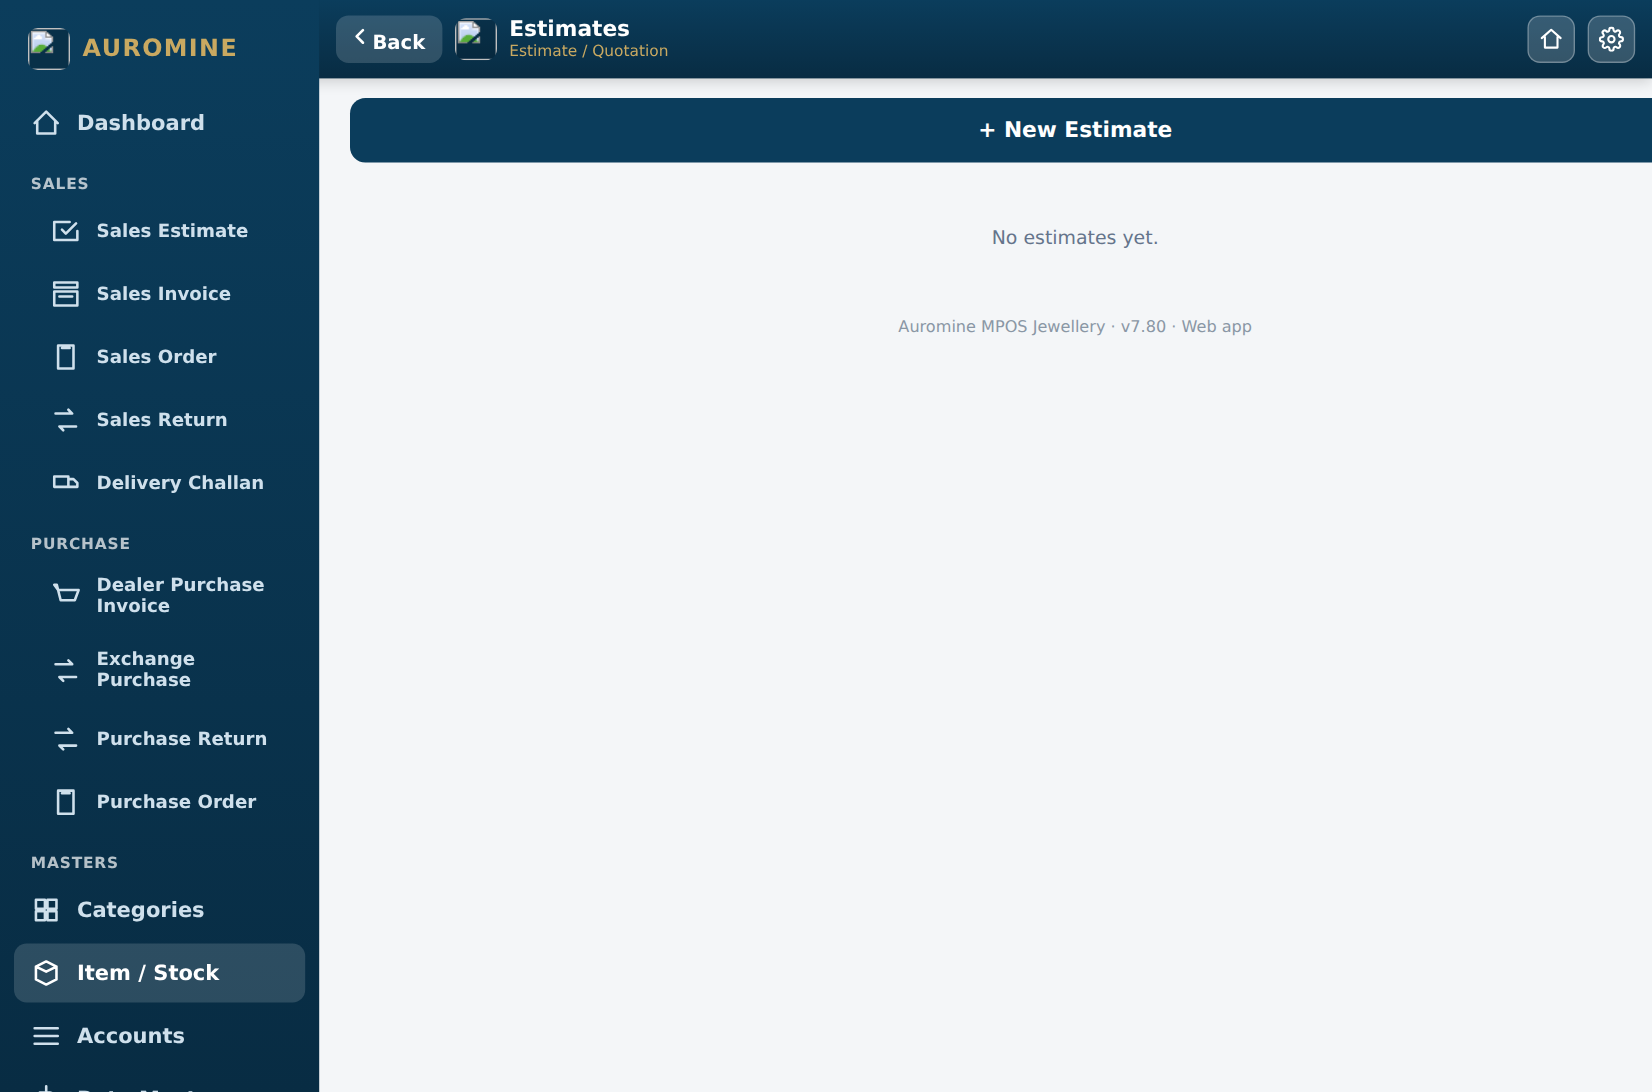
Estimates — quotations you can convert to a sale with one tap
- Estimate: a quotation — no stock or account effect. Convert to sale when the customer agrees.
- Sales Order: for advance bookings / made-to-order pieces.
- Delivery Challan: send goods without an invoice (approval, exhibition, job work).
- Sales Return: pick the old bill, choose one item / several / whole invoice, adjust credit into a new bill.
7Purchase & old gold exchange
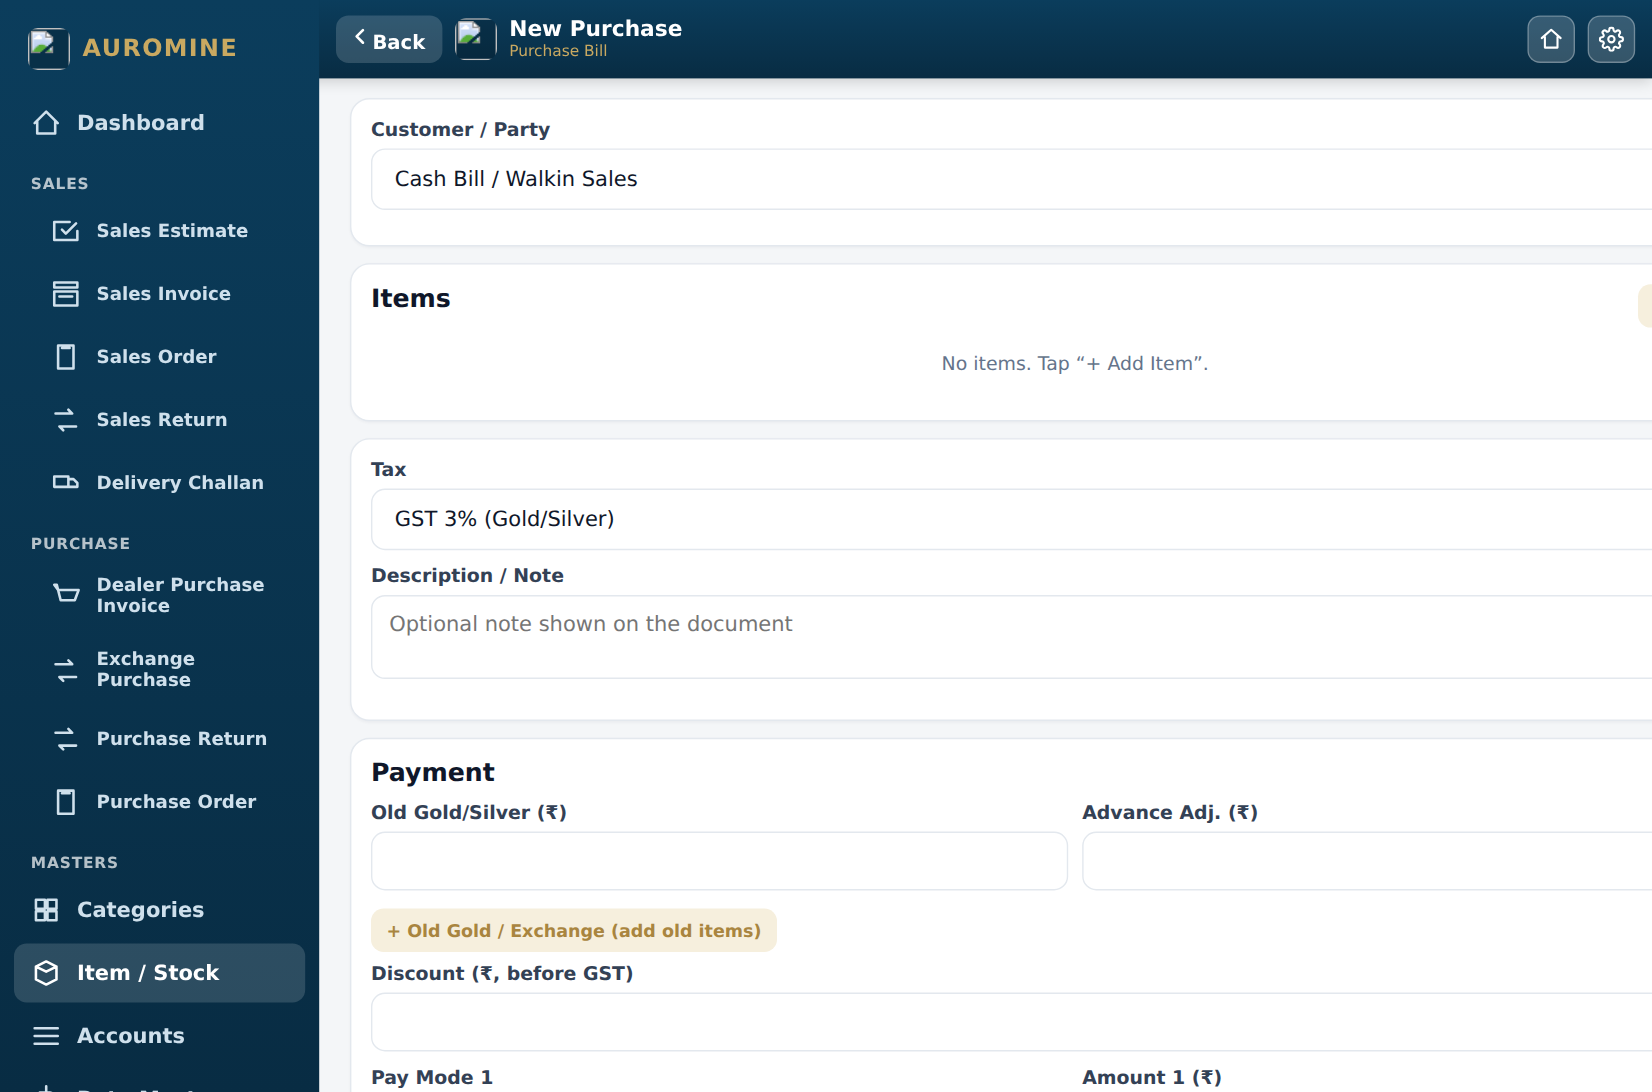
Purchase invoice — dealer purchases with GST
- Dealer Purchase Invoice: buying new stock from a dealer/wholesaler.
- Exchange Purchase: buying old gold from a customer over the counter.
- Purchase Return and Purchase Order work like their sales counterparts.
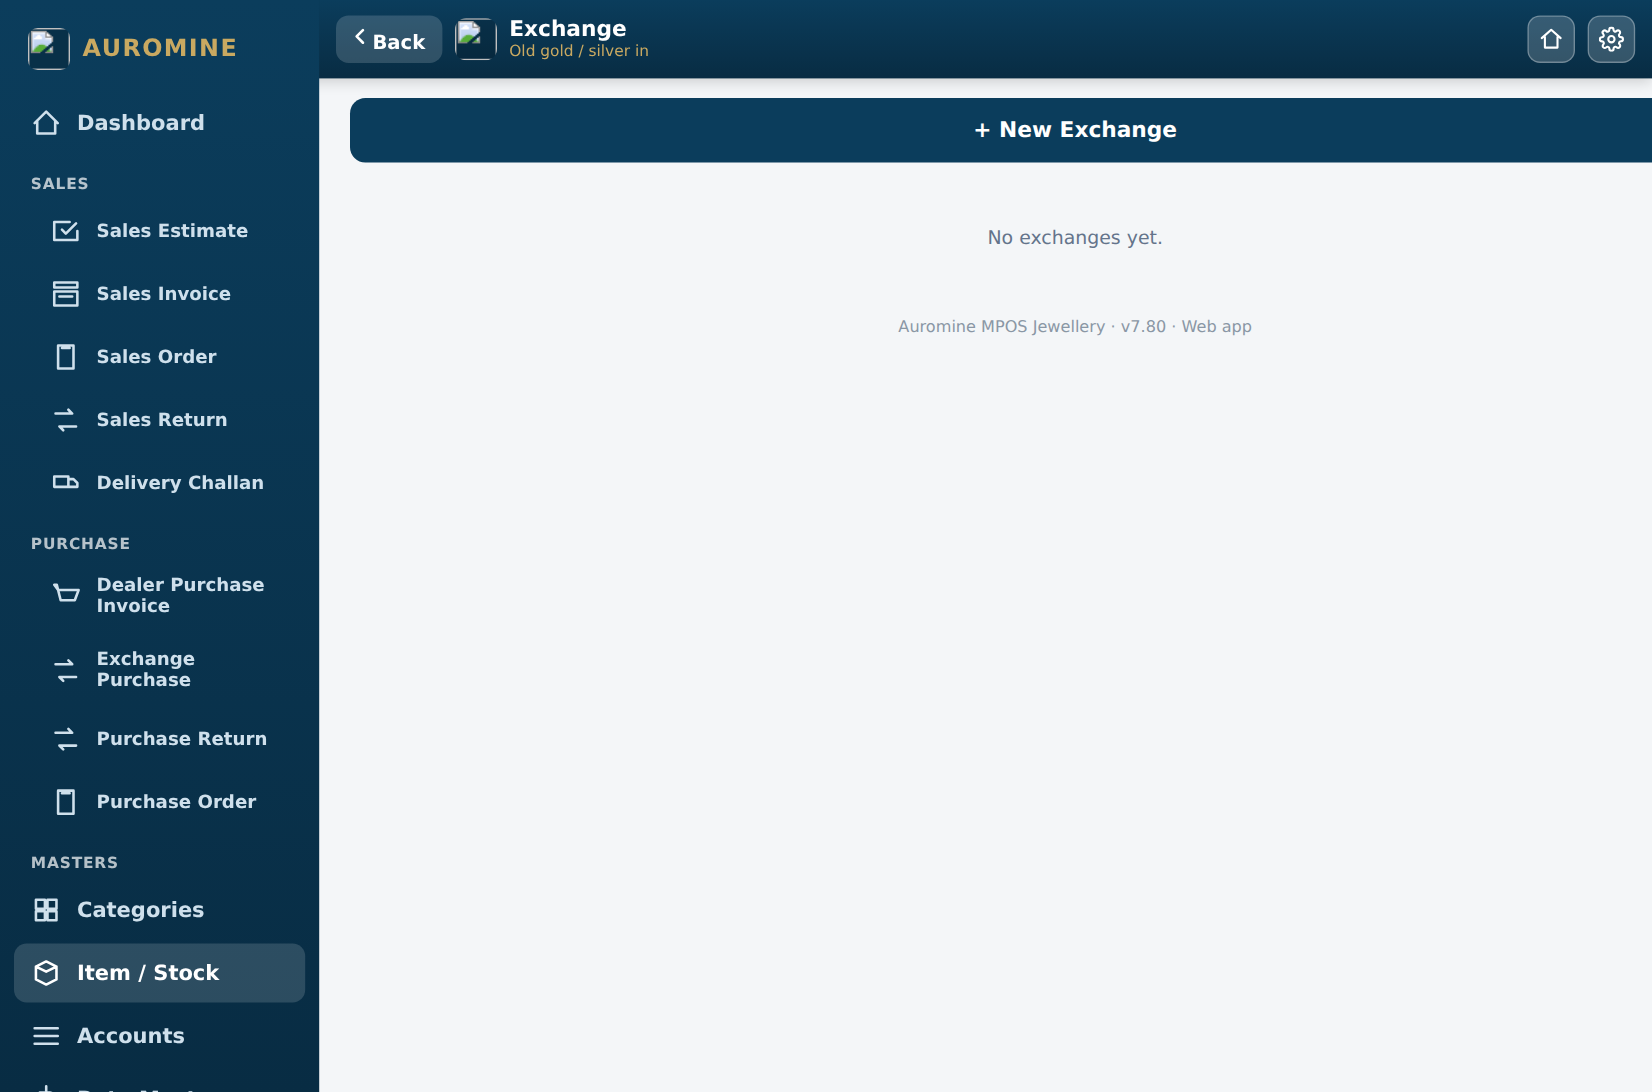
Old Gold Exchange — weigh, apply dust/wastage deduction, value at today's rate
8Repair jobs
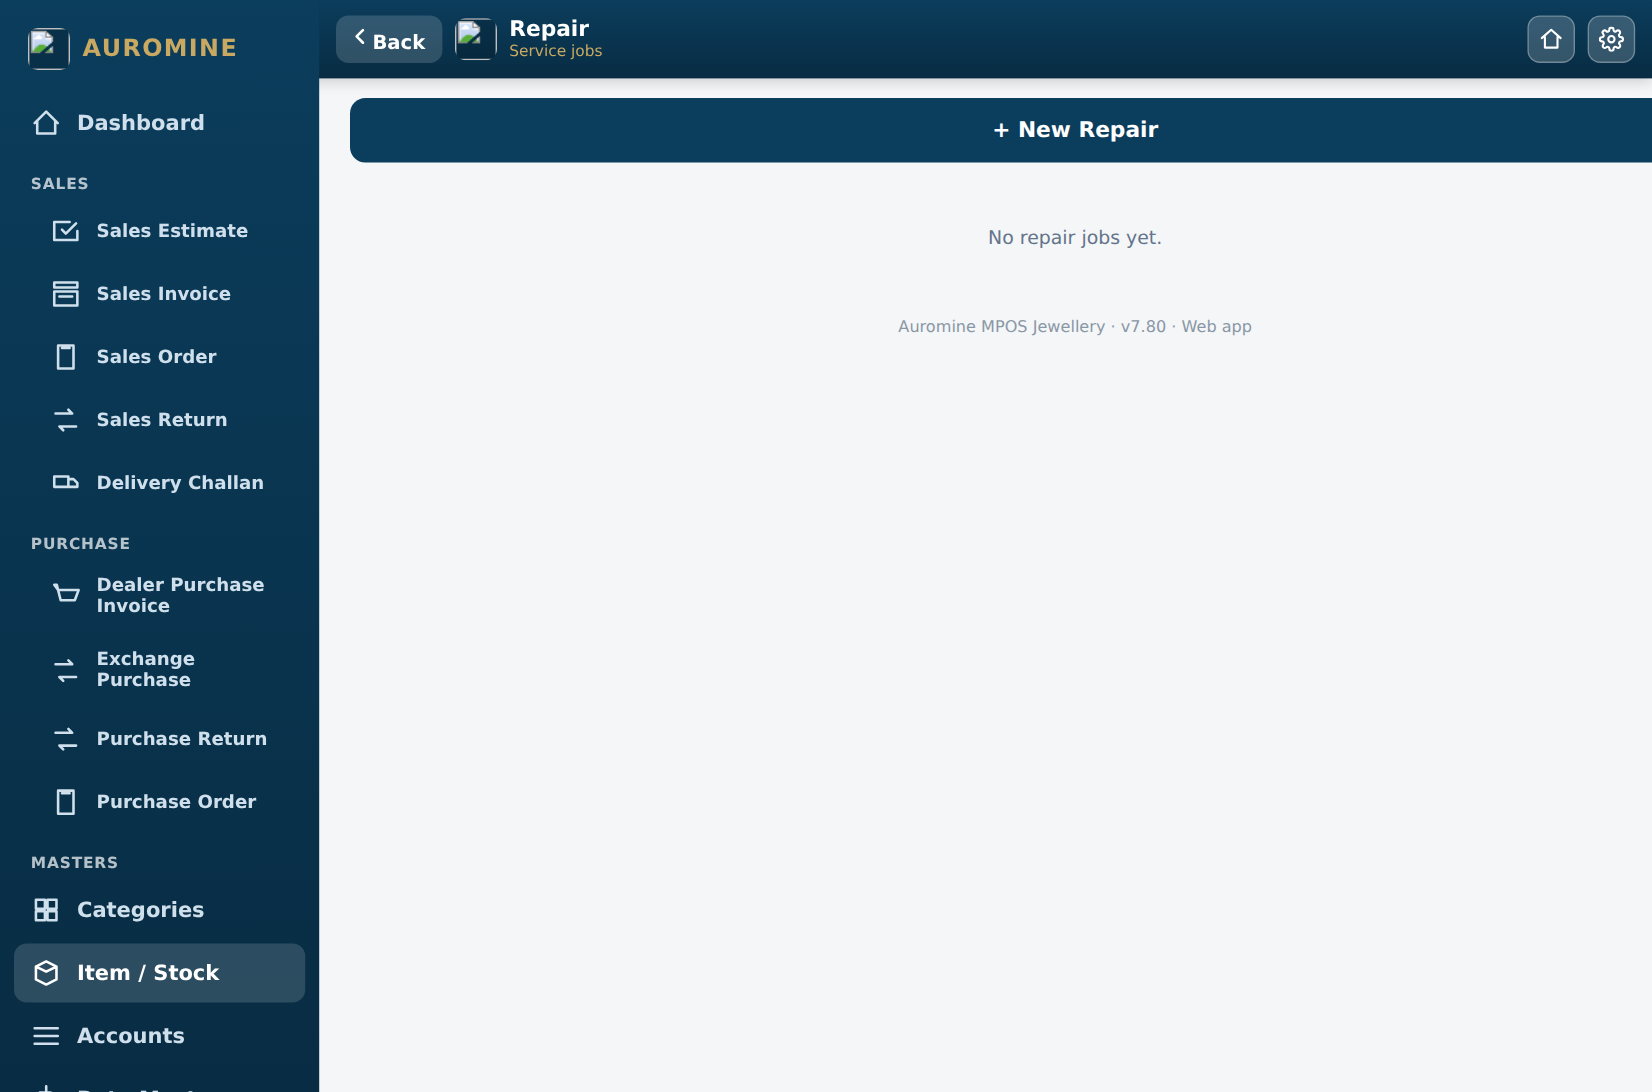
Repair — take in a job, track it, bill on delivery
- New Repair → note the customer, item description, promised date and estimated charge.
- Track pending jobs in the Repair list; mark delivered and collect the charge when done.
9Reports & accounts
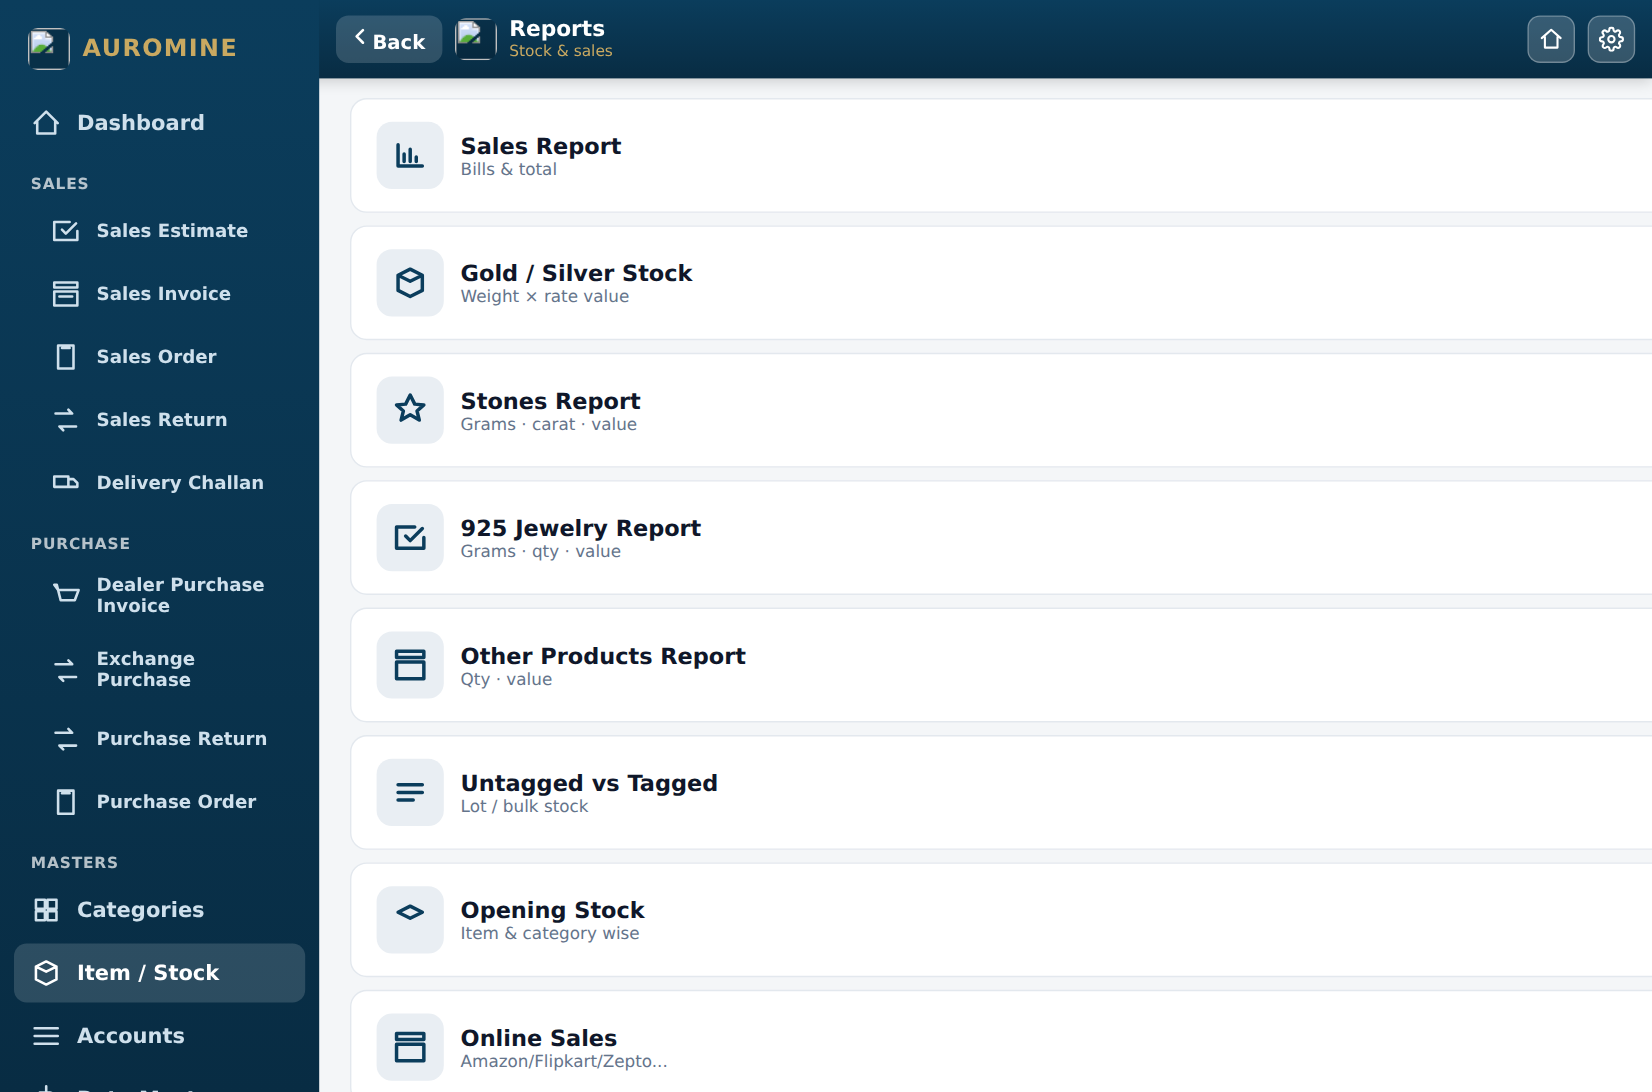
Reports — day book, sales, GST and stock views
- Day Book: everything that happened today — sales, purchases, payments.
- Sales / Purchase reports: by date range, party, metal.
- GST reports: tax collected, ready for your accountant.
- Accounts: cash and ledger view per party.
Reports are visible to Admin and Manager logins only — Sales staff cannot open them.
10Backup & restore
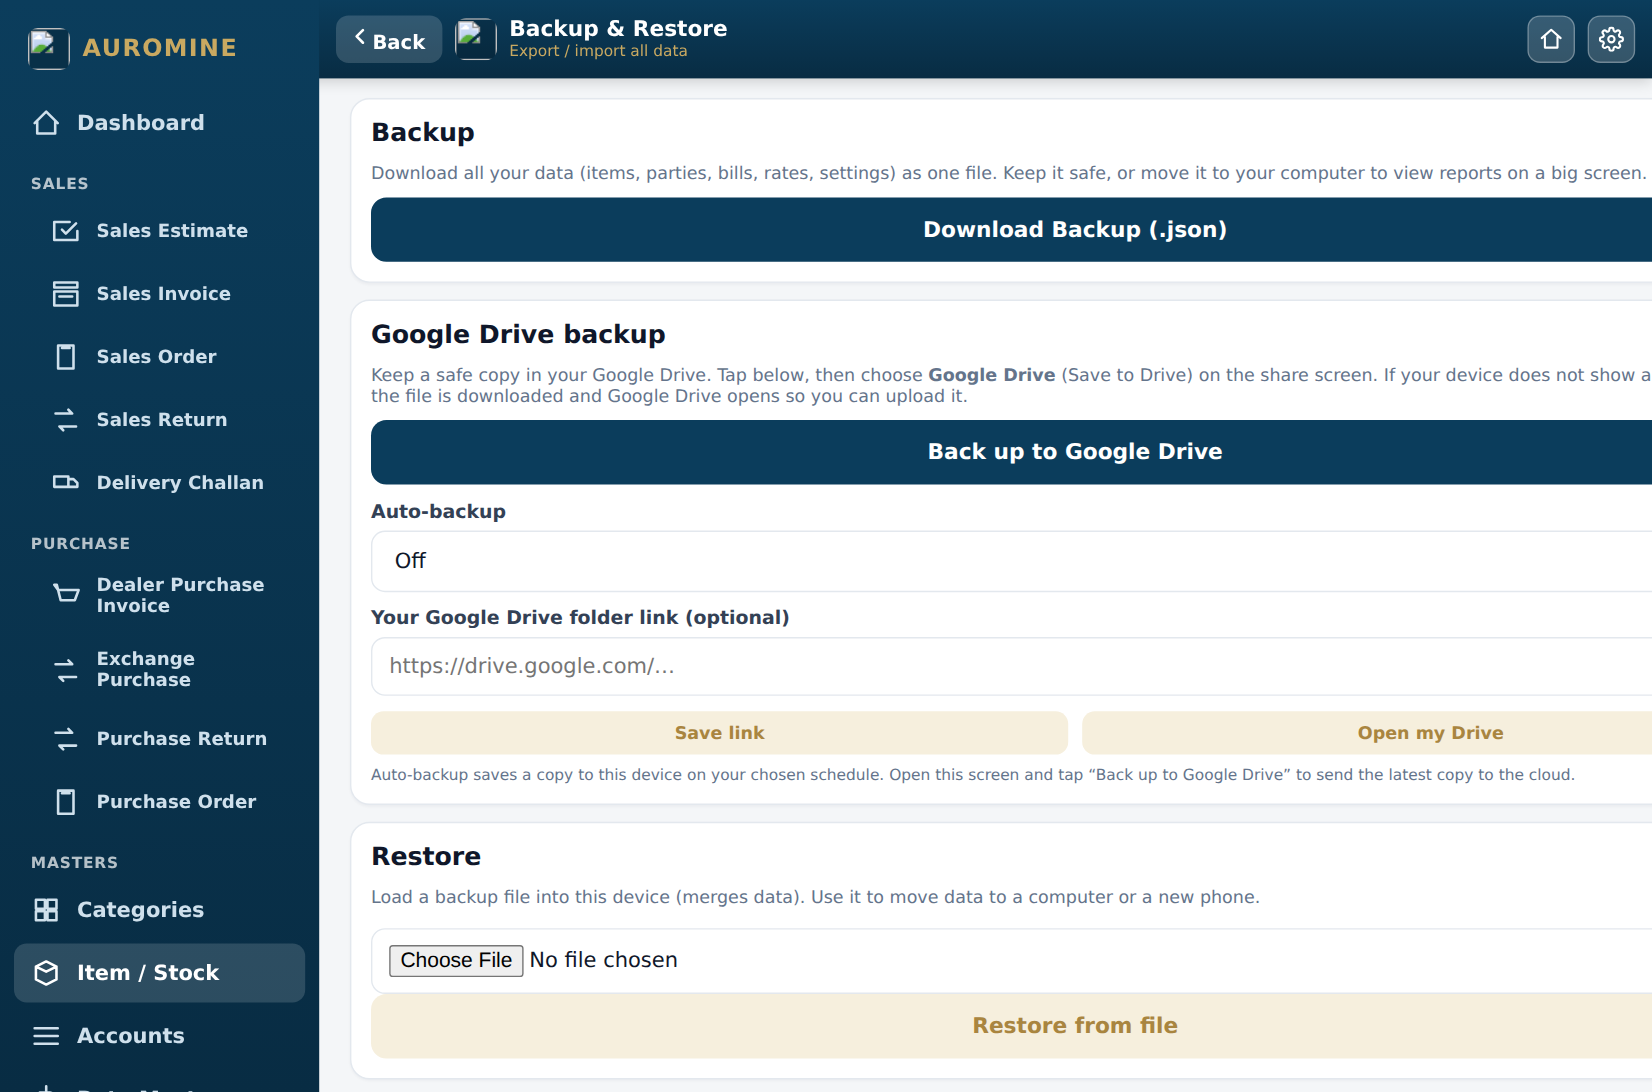
Backup & Restore — one file with ALL your data
- Settings & More → Backup & Restore → Download Backup (.json) — one file with items, parties, bills, rates and settings.
- To move to another computer/browser: sign in there, then Restore from file with that backup. It merges safely.
Make it a habit: download a backup at closing time every day. It is your safety copy if the computer ever fails.
11Users & staff logins
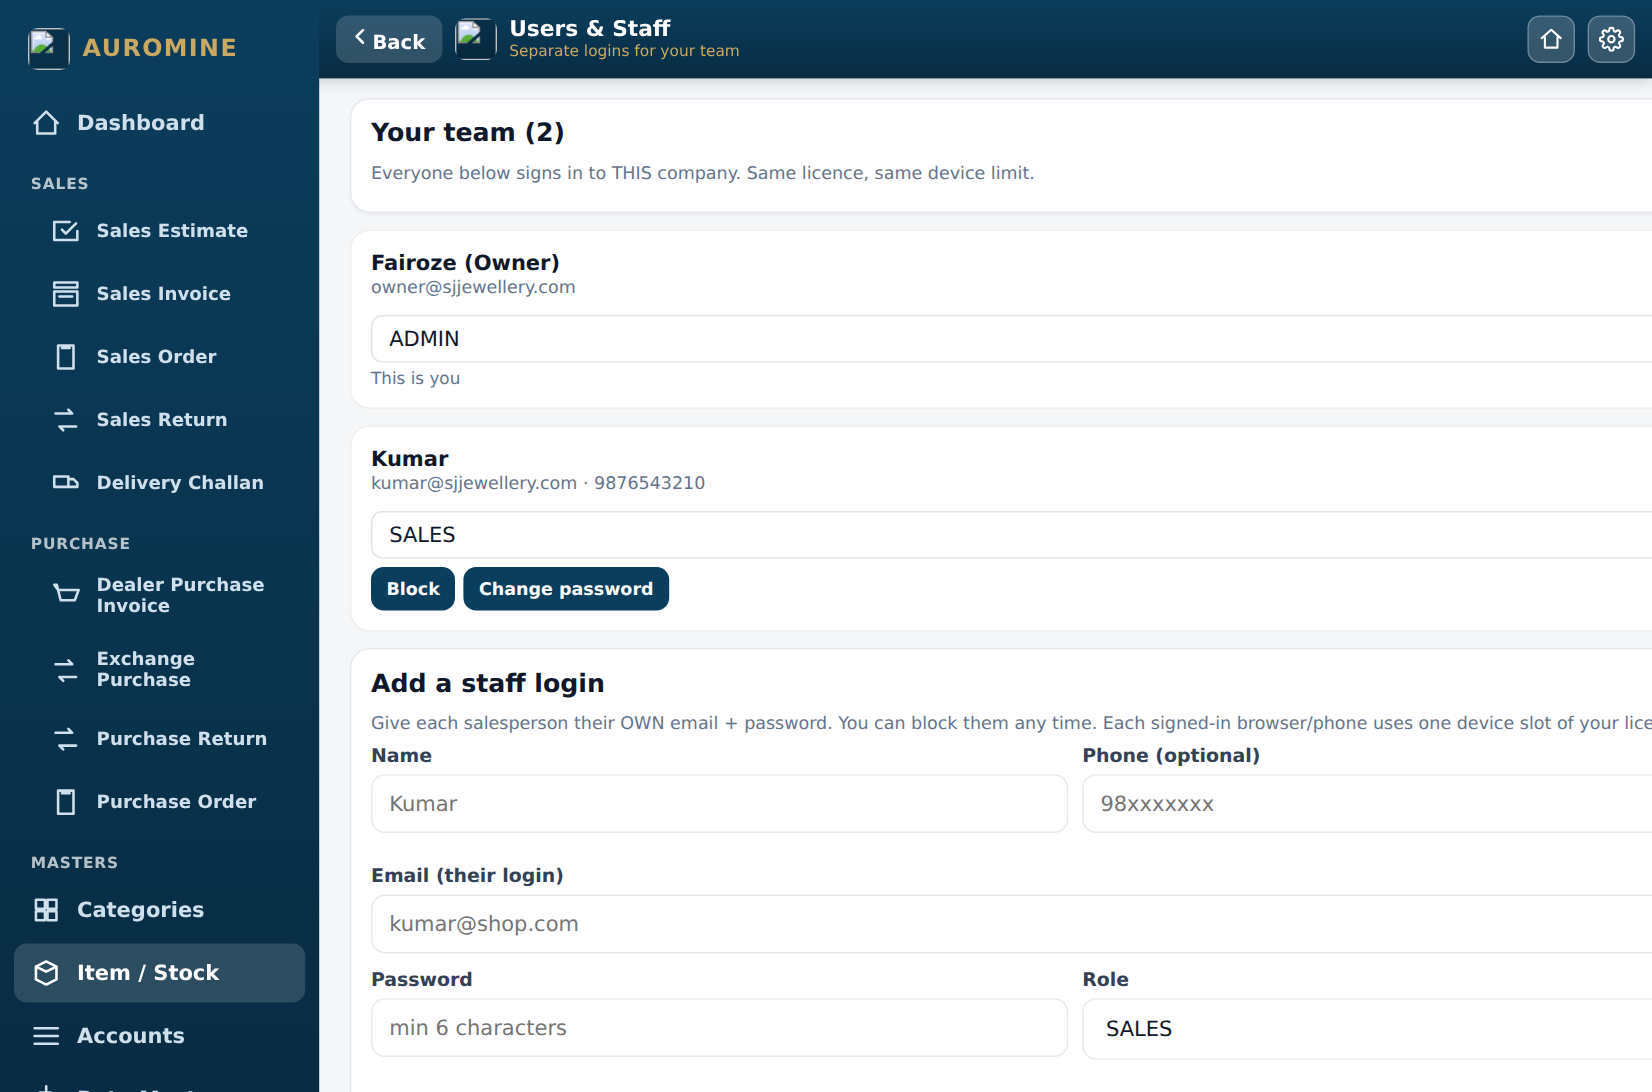
Users & Staff — separate logins, roles, block any time
- Open Users & Staff (gear menu, Settings & More, or the dashboard row above Recent Bills).
- Add a staff login: name, email, password, and a role — ADMIN (owner — everything), MANAGER (billing + reports), SALES (billing & tags only).
- The salesperson signs in with their own email + password on the counter computer or phone.
- Change their role, password, or Block them instantly — for example the day someone leaves.
Device limit: each signed-in browser or phone uses one device slot of your licence (2 by default). The Sign out button on this screen frees the slot automatically, so you can move between browsers freely. Need more slots? Contact Auromine.
12Language, currency & themes
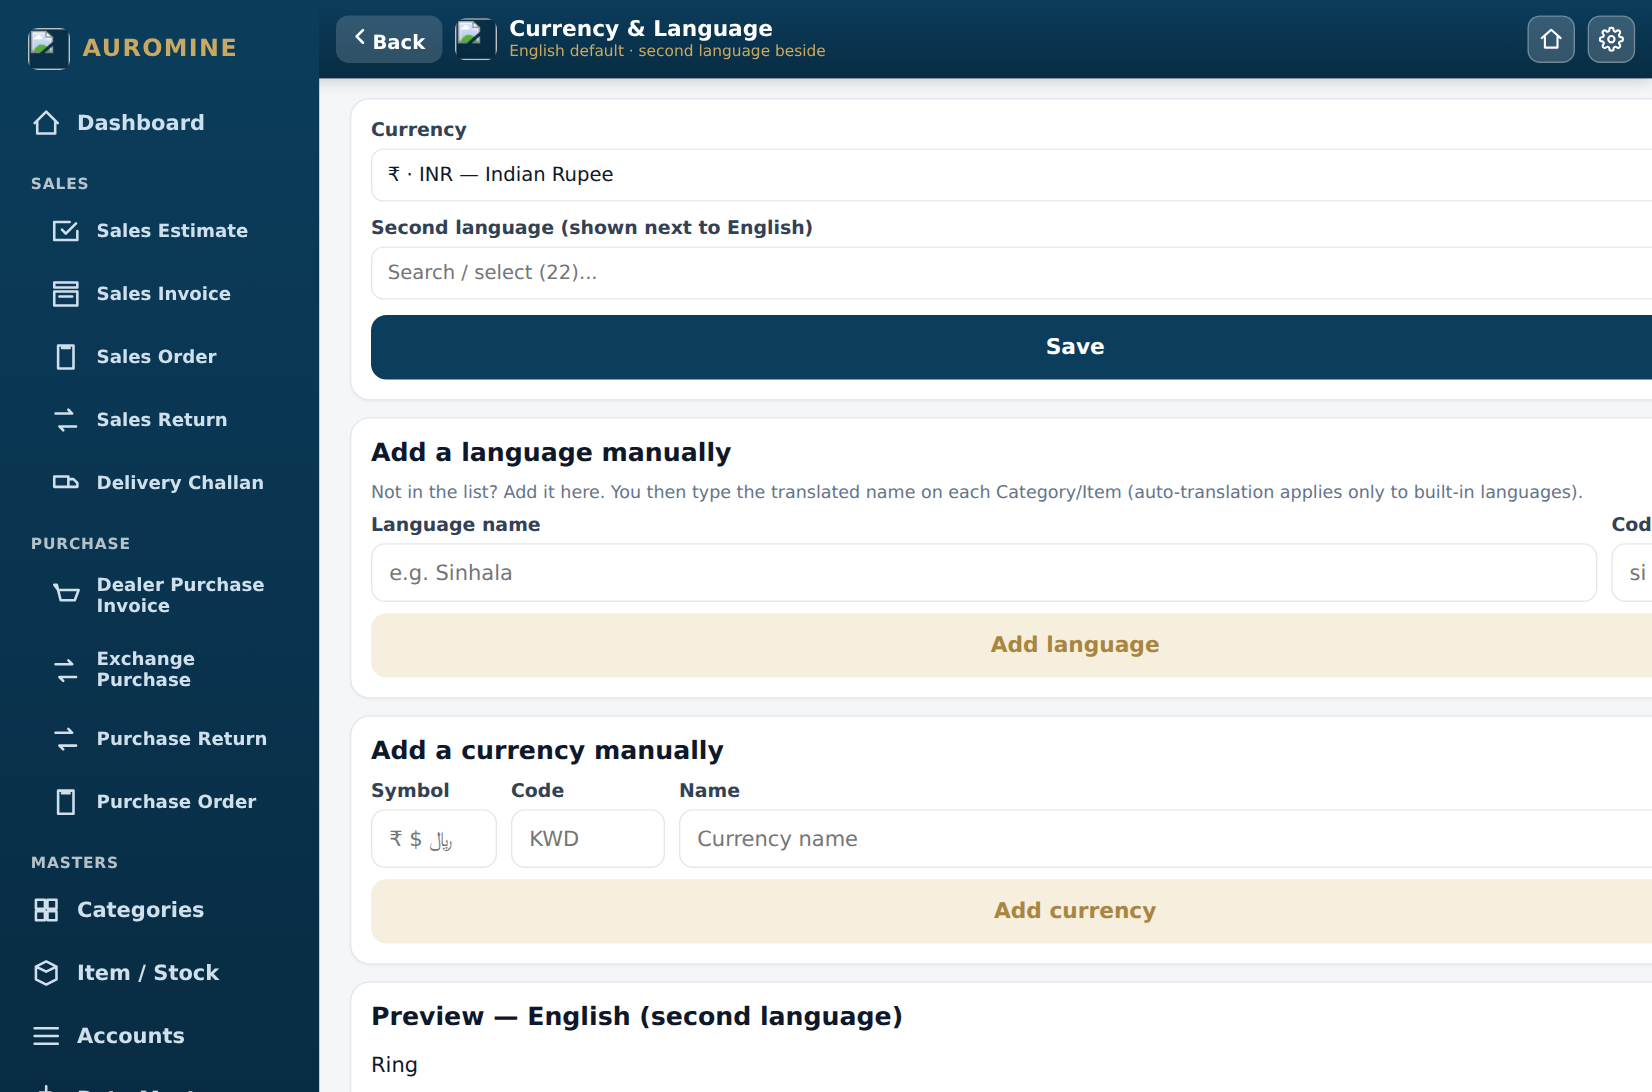
Currency & Language — English plus your language side by side
- Languages: show the app in Tamil, Hindi, Malayalam and more, next to English. (More languages are being completed.)
- Currency: ₹ by default; other currencies available for export businesses.
- Appearance: 7+ theme colours, or import your own shop colour.
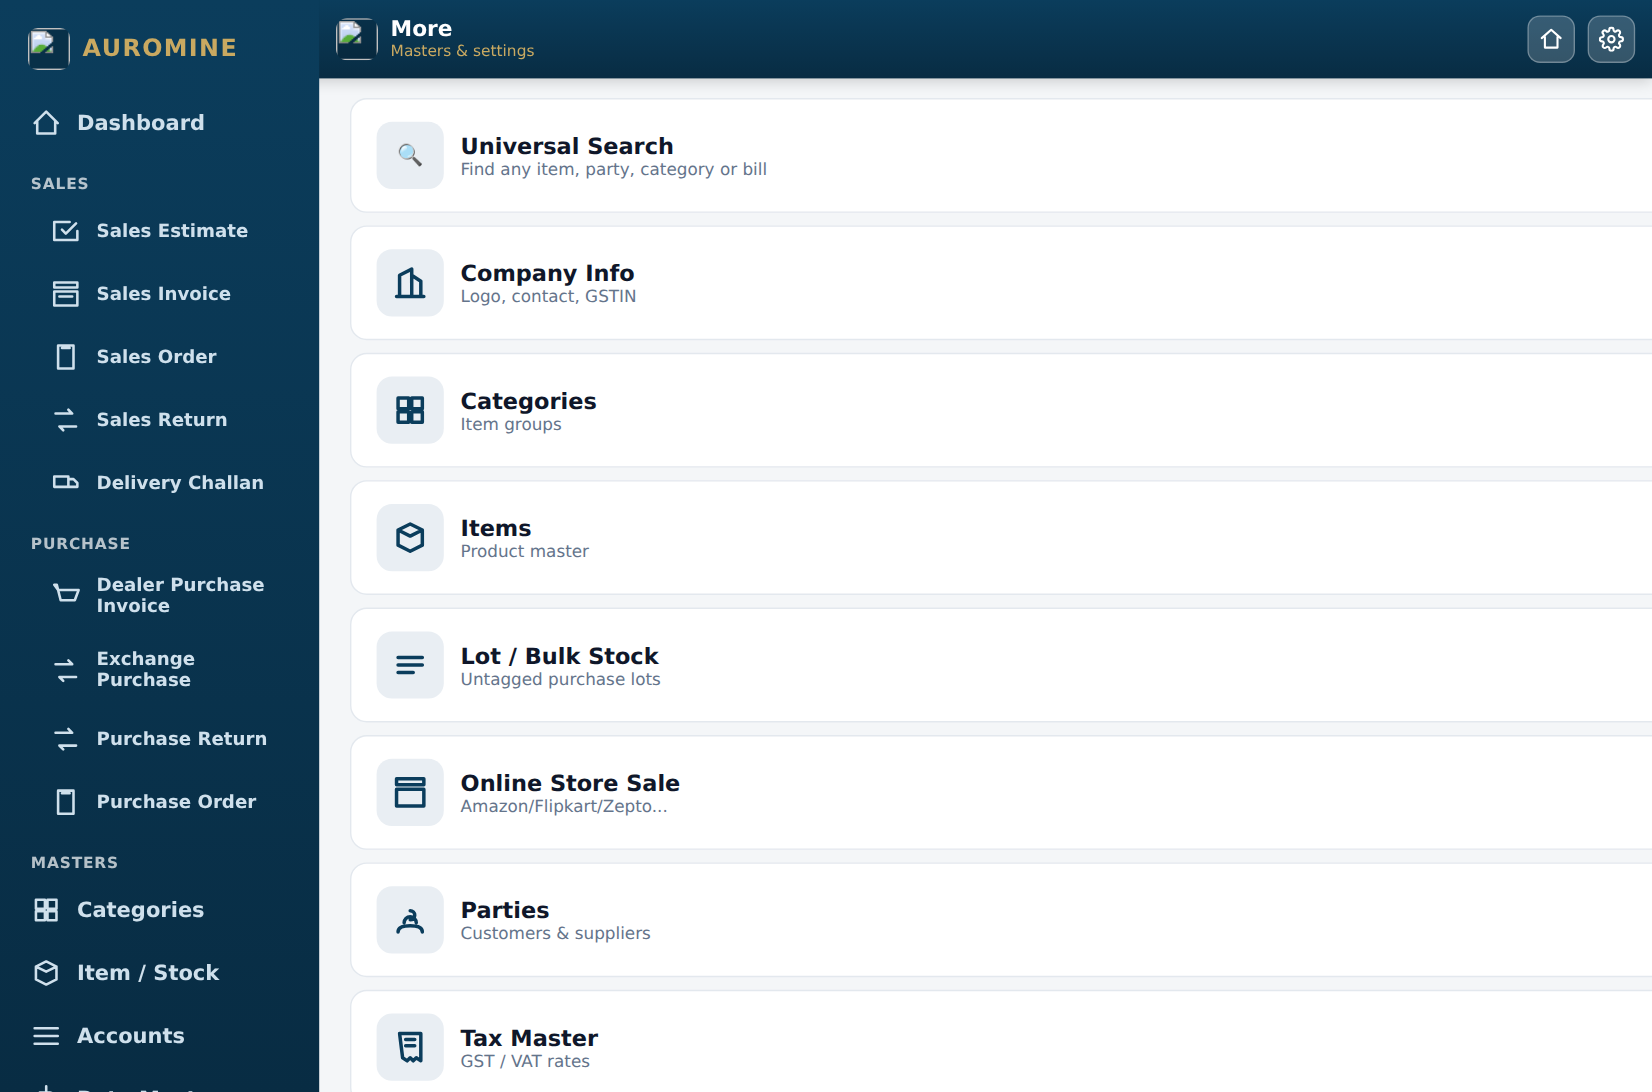
Settings & More — every module in one place
13Licence, devices & renewal
- Trial: 21 days free, all features.
- Subscription: yearly licence — see Settings & More → Subscription for plans and renewal.
- After expiry there is a 15-day read-only grace period — you can see and print everything, but not add new bills, until renewal.
- Your licence works on web and Android with the same login.
14Help & support
- WhatsApp: +91 95667 22972 (business hours, IST)
- Email: support@auromine.com
- In the app: Settings & More → About & Support → Chat on WhatsApp. Updates also appear there — tap Check for updates.
Auromine MPOS Jewellery · © Auromine Retail POS Pvt Ltd · jewelapp.auromine.com